Select database
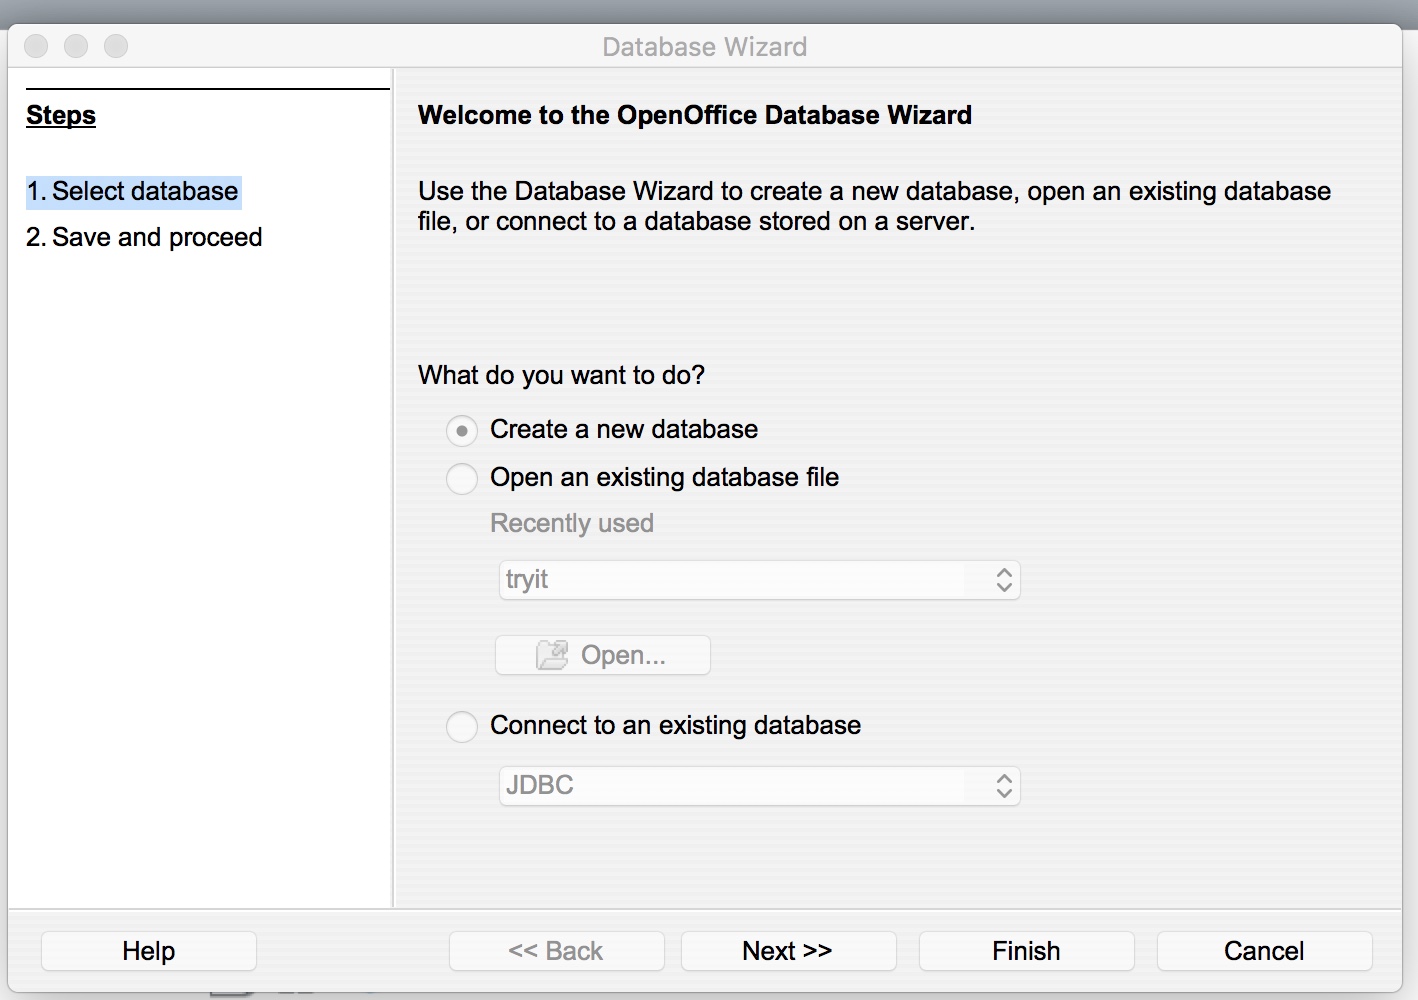
Click Next
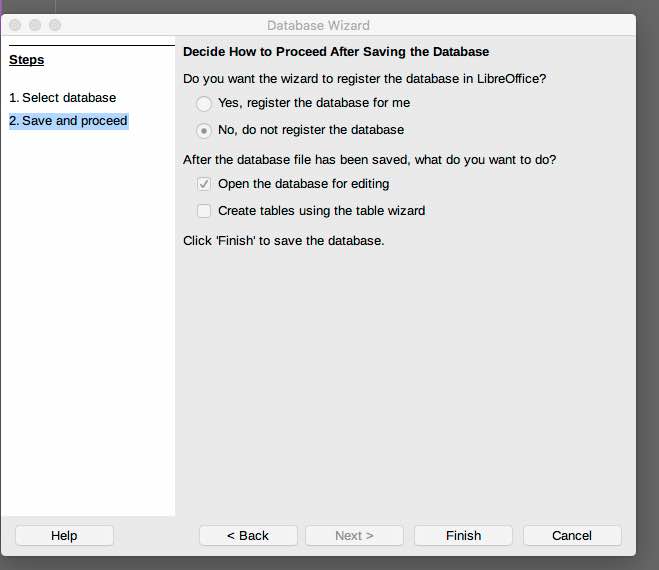
Set Do Not Register and click finish
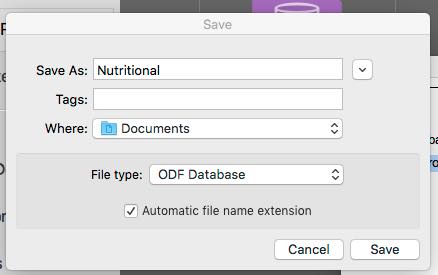
Specify the name Nutritional and the path to where you want the database file created.
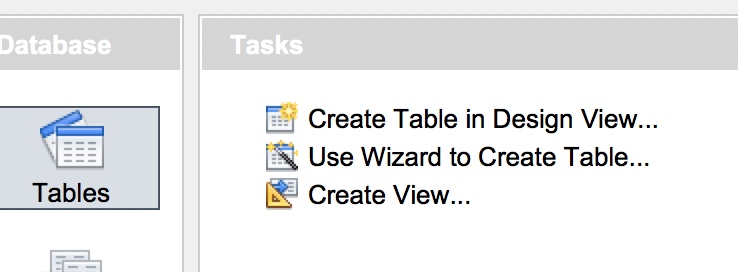
Specify Create Table in Design View
Learn to use a database program effectively to organize and manipulate data.
OpenOffice is going to be used for this assignment. It is free.
It is Open Source.
Download OpenOffice for
your operating system and install it. You may also have to download the
java runtime environment.
runtime environment.
If you are working in MACOS, you may get a message that you cannot
run the application because the source of the application is unknown
(I am not sure of the exact wording of the message). If you get this message,
you will have to change your security settings to allow the application to run.
You can change the setting back after completing the assignment.
Americans have become diet-crazed. There are many many diets from which to choose: low fat, low calorie, low carb, etc. We are going to create a table of nutritional information. Given the table, you can sort on a given criteria to order foods or query foods that meet certain criteria.
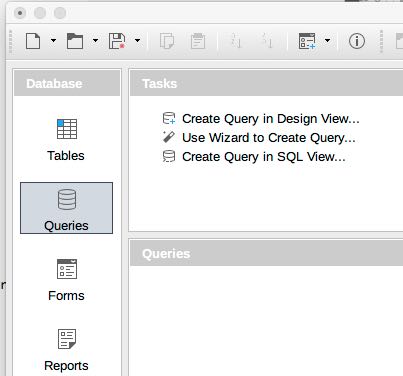
In Open Office,
Select database
Click Next
Set Do Not Register and click finish
Specify the name Nutritional and the path to where you want the database file created.
Specify Create Table in Design View
Define the following fields in the table:
To select the field type, click on the arrow for the drop-down menu.
At the bottom of the screen under field properties, select Auto.
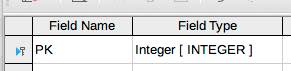

Right click in the square next to the field name to make it the Primary Key.
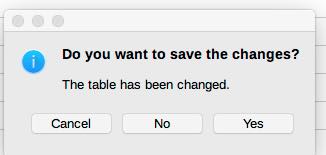
After entering all of the fields, you are going to close the table by
clicking on the x in the upper left corner of the table. You will be asked
if you want to
save the table, click yes. You will then be prompted for a table name,
specify nutritional.
Your table has been created in the database.
Double Click on the table name to open it to enter data,
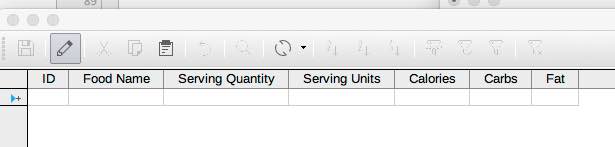
Notice the ID field. It is the primary key that the database will guarantee to be a unique field in each record entered.
In order to be able to uniquely identify students, we will enter a dummy record with your name as the food. Under category, specify person and under food name specify your name. Enter the values specified below for the remaining fields. Tab through each field to enter data.
Enter the following data into the nutritional table..
| Your name | 1 | oz | 100 | 20 | 0 |
| Apple Juice | 8 | oz | 115 | 29 | 0 |
| Champagne | 3.5 | oz | 87 | 0 | 0 |
| Beer - Regular | 8 | oz | 167 | 7 | 0 |
| Beer - Lite | 8 | oz | 63 | 3 | 0 |
| Coffee | 8 | oz | 0 | 0 | 0 |
| Cheddar Cheese | 1 | oz | 115 | 0 | 9 |
| Cream Cheese | 1 | oz | 100 | 1 | 10 |
| Plain Bagle | 1 | whole | 200 | 38 | 2 |
| Whole Wheat | 1 | slice | 70 | 13 | 1 |
After entering all of the data, click on x to close the table. Save the changes.
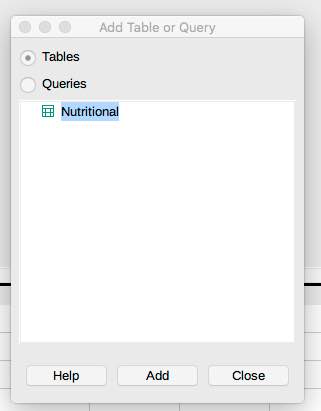
Click on Add to add the Nutritional Table to the Query then click close.
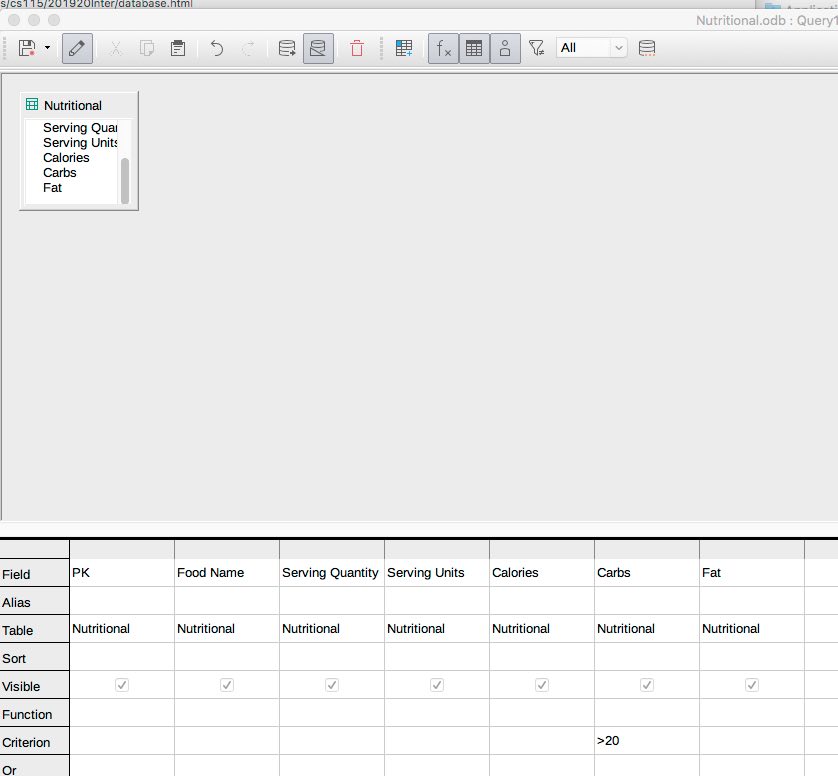
The Tables appear in the top portion of the query window (we only have Nutritional). The query is constructed
in the bottom portion of the screen. The bottom portion of the screen
will initially be empty. Double click on each field name in the top portion to move them into the
query that is going to be constructed.
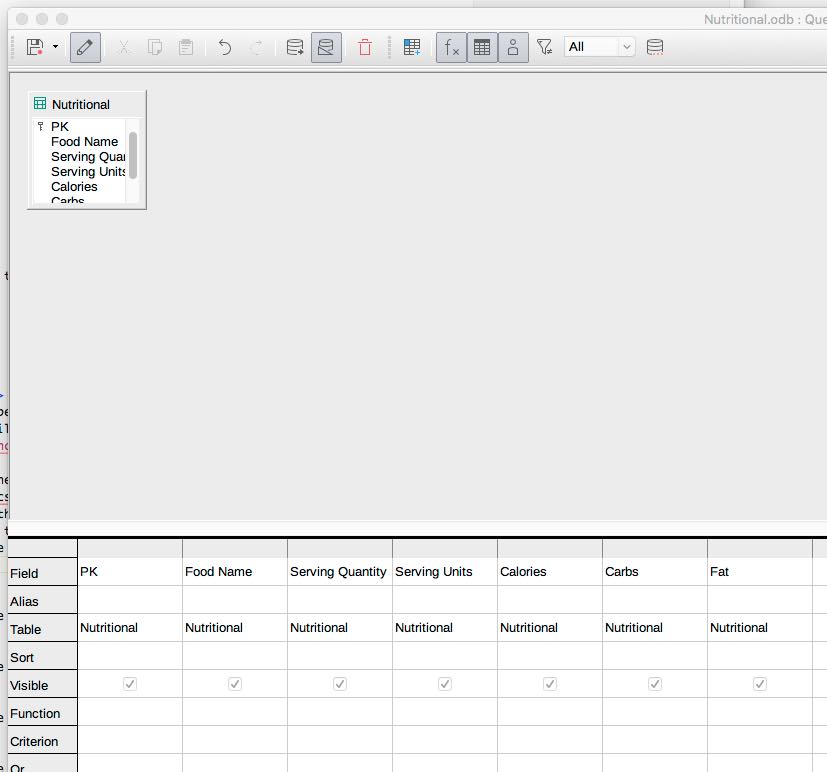
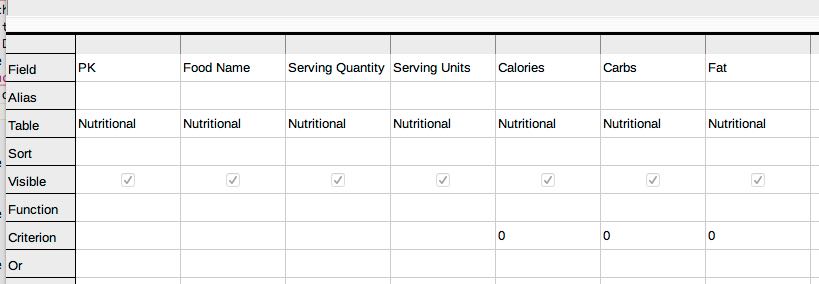
In the bottom portion of the screen on the line labeled criterion is where the query criteria is entered.
For a record to be selected, all three fields must be equal to 0.
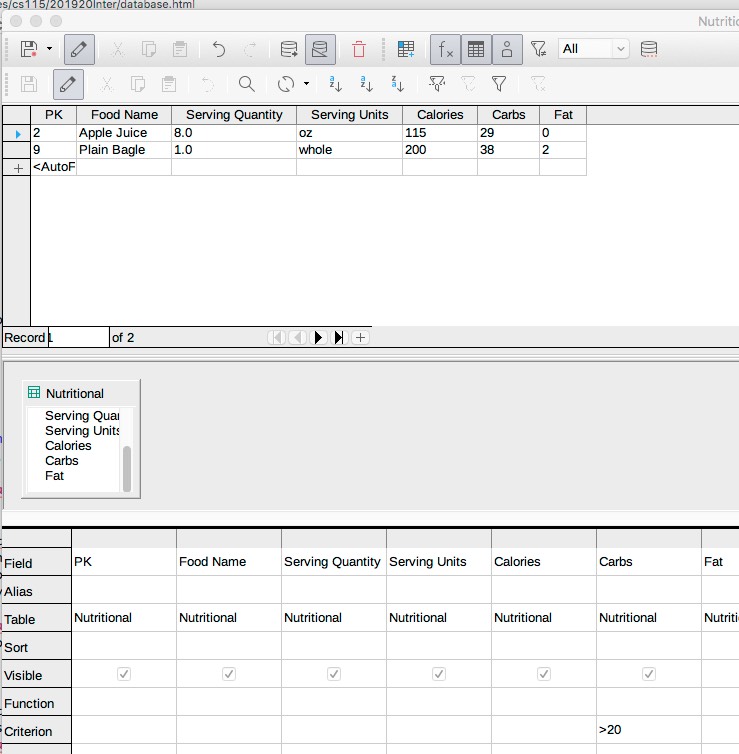
To run the query, click edit and select run query. The results will appear in the top portion of the window.

Click on the x to close, answer yes to save, and the name should be query1.
Repeat the procedures above. Only one field is involved in this query.
Run the query.
Click on the x to close, answer yes to save, and the name should be query2.
Save the query as Query3.
Save the query as Query4.
Save the query as Query5.
Save the query as Query6.
Be sure to save each query. The saved queries should be named by the order of the queries listed: query1, query2, query3, etc.
Last Modified 3/7/2023
This page is copyright protected © by Barbara Bracken